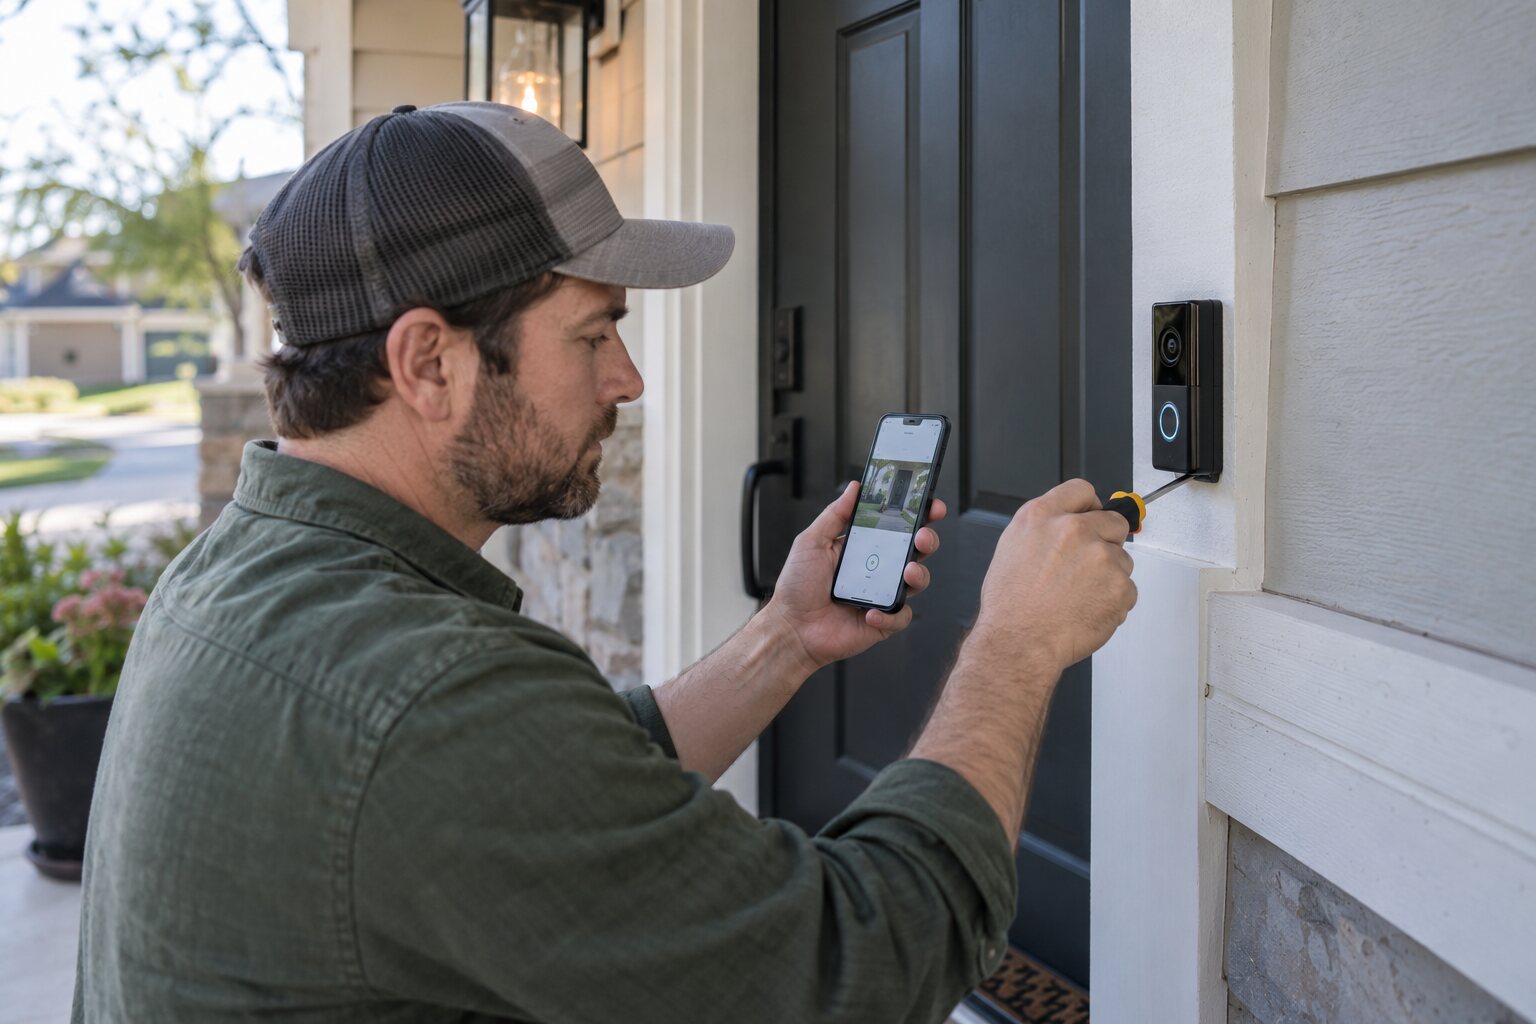
A smart doorbell is both a small electrical device and an outdoor security fixture. A reliable installation begins with identifying the power arrangement, checking the mounting surface, and deciding how the camera will see visitors without pointing into a neighbor’s private space.
Identify the power type
Check whether the existing doorbell uses low-voltage wiring, a plug-in adapter, or a battery. Turn off the doorbell circuit before handling wired conductors. Photograph the original terminals, confirm the transformer rating against the camera instructions, and do not connect a device to mains voltage. If the transformer is inaccessible or the wires are damaged, have an electrician inspect it.
Choose a useful camera position
Mount the camera where faces are visible and the button can be reached by children and wheelchair users. Avoid aiming directly at a bright window or a public path where constant motion will create unnecessary alerts. Use the supplied wedge only when it improves the view and does not weaken the weather seal.
Seal and fasten the mount
Use the supplied anchors for masonry or a suitable pilot hole for wood and siding. Keep the cable entrance protected from rain and avoid crushing low-voltage wires beneath the bracket. Tighten the camera evenly, fit the cover or battery, and confirm that the button and chime are accessible.
Pair and test deliberately
Connect the camera to the home network near the router, install firmware updates, and set a strong account password with two-step verification when available. Walk through the detection zone at different distances, test the chime, and reduce motion sensitivity if passing traffic creates alerts.
Review privacy settings, recording retention, and guest access before sharing the camera. A doorbell should improve awareness without recording more of the street or neighboring property than is necessary.