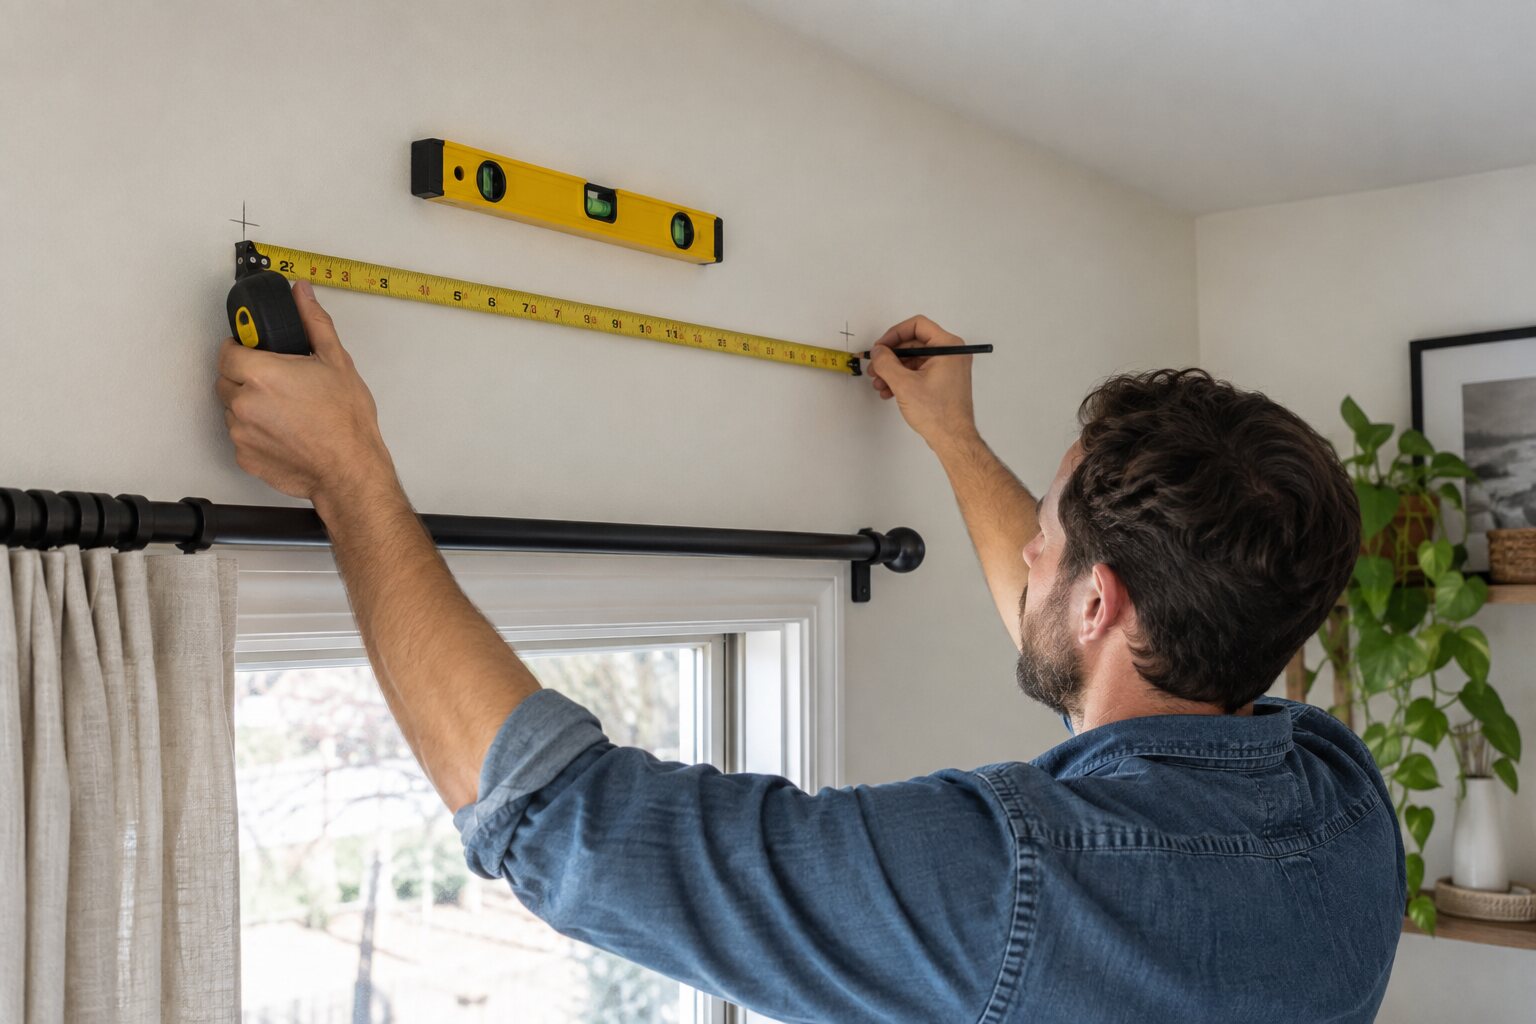
A curtain rod looks simple, but a few careful measurements prevent crooked fabric, weak fasteners, and holes that must be patched. Measure the window, the trim, the rod, and the brackets as one layout before picking up the drill.
Decide the finished position
Most rods look balanced when they extend beyond both sides of the window and sit high enough for the curtain to clear the trim. Check the curtain length, stack-back space, radiator clearance, and nearby doors. Mark a light centerline above the window so both brackets can be measured from the same reference.
Measure the hardware itself
Do not assume the bracket screw holes are centered on the bracket. Measure the distance from the rod pocket or ring position to the wall, the bracket hole spacing, and the rod’s maximum span. Transfer the measurements to painter’s tape on the wall so pencil marks remain easy to remove.
Check for framing and hazards
Use a stud finder carefully and look at the locations of outlets, switches, and plumbing fixtures on the other side of the wall. A bracket landing on a stud is ideal; otherwise use an anchor rated for the curtain and rod. Avoid drilling deep into an unknown wall cavity.
Drill once and verify level
Hold both marked bracket positions with a level across them before drilling. Start with a small pilot hole, install the correct fastener, and tighten until secure without crushing drywall. Hang the rod with light curtains first, then check that the fabric opens freely and the hardware remains level.
Heavy blackout curtains may require a center support or stronger anchors. If the rod pulls away, stop using it until the fastening method is corrected rather than adding a longer screw at random.