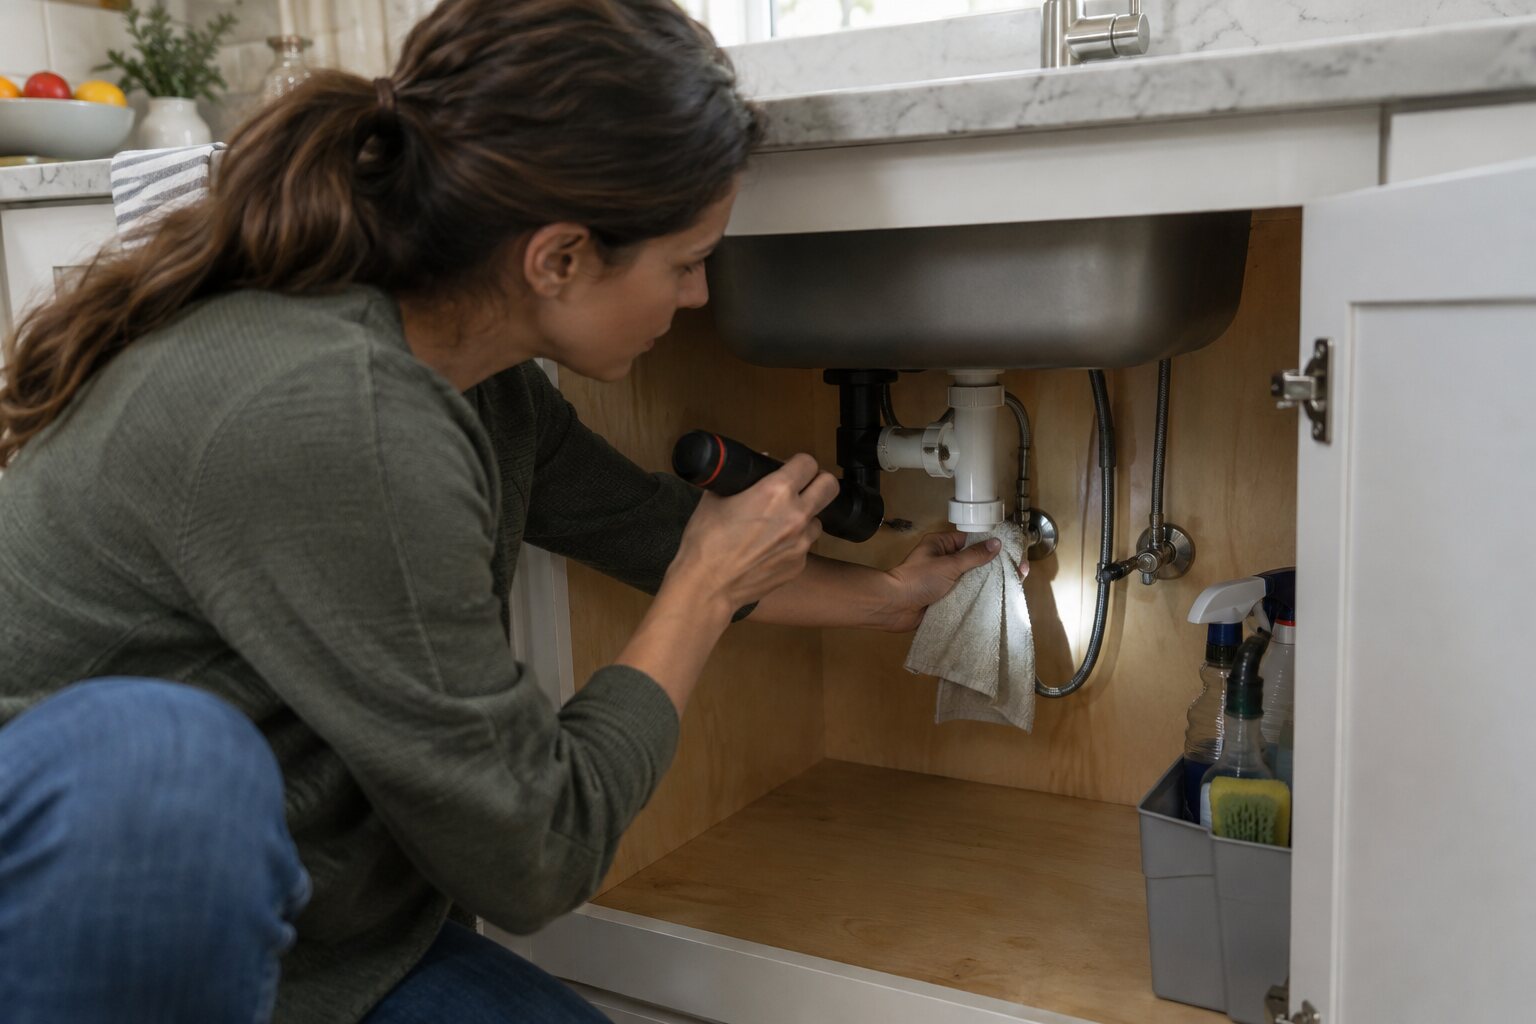
A slow leak at a kitchen sink shutoff valve can damage the cabinet long before a puddle becomes obvious. A careful inspection helps you locate the first wet point and decide whether a simple packing adjustment is appropriate or a plumber is needed.
Clear and dry the cabinet
Remove cleaners and stored items, then dry the cabinet floor and the valve with a paper towel. Keep a flashlight nearby and avoid leaning heavily on the supply tubes. If the cabinet has a water sensor, move it where it can still detect a drip after the inspection.
Trace the first wet point
Open the faucet briefly and watch the flexible supply connection, valve body, stem, and compression nut. Touch each location with a fresh tissue rather than relying on a shiny reflection. Water from the handle stem suggests packing leakage, while water at the tube connection may indicate a loose or damaged fitting.
Use the handle carefully
Turn the valve clockwise only until it stops; do not force a stiff handle. If a quarter-turn valve is already closed, leave it alone and investigate the connection instead. Never use pliers on a small handle because the valve body can twist the pipe inside the wall.
Know when to stop
If water sprays, the pipe moves, corrosion flakes away, or the shutoff will not close, close the main supply and call a licensed plumber. Do not disassemble a pressurized valve inside a crowded cabinet. After any approved tightening, reopen the supply slowly and check the cabinet again after ten minutes.
Place a dry towel under the valve for a day and inspect it morning and evening. Early detection protects the cabinet floor and gives you time to arrange a proper repair.