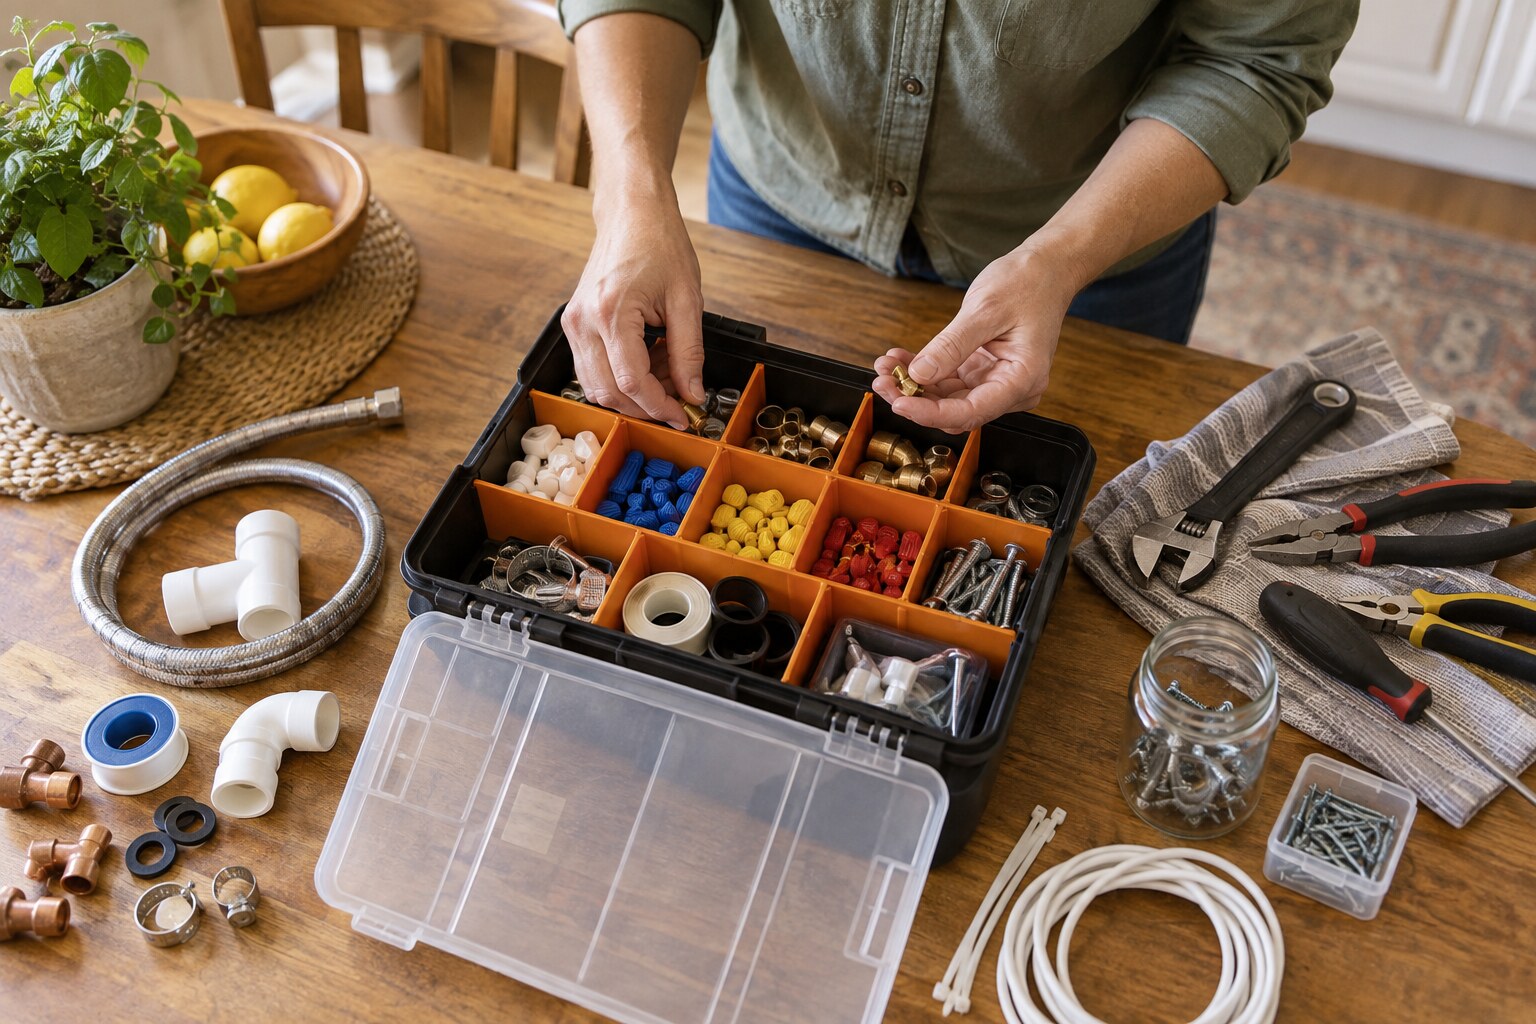
A repair toolbox is easier to use when the tools you reach for most often are visible and the small parts have dedicated homes. Organization also makes it easier to notice missing or damaged equipment before a job begins.
Start with the common jobs
Group tools around routine tasks: driving screws, tightening fasteners, measuring, cutting, gripping, and patching. A tape measure, combination screwdriver, pliers, adjustable wrench, utility knife, level, and flashlight cover many small household repairs.
Separate sharp and small items
Keep blades, drill bits, anchors, screws, and replacement washers in lidded compartments. Store sharp tools so their edges cannot contact cords or your hands when the box is carried.
Use labels that help
Labels such as picture-hanging hardware, plumbing washers, and wall anchors are more useful than one large container marked miscellaneous. Keep a short inventory card in the lid if several people use the toolbox.
Review it after each repair
Return tools immediately, wipe away moisture, and replace consumables before the next job. A five-minute reset prevents a small repair from turning into a search through every drawer.