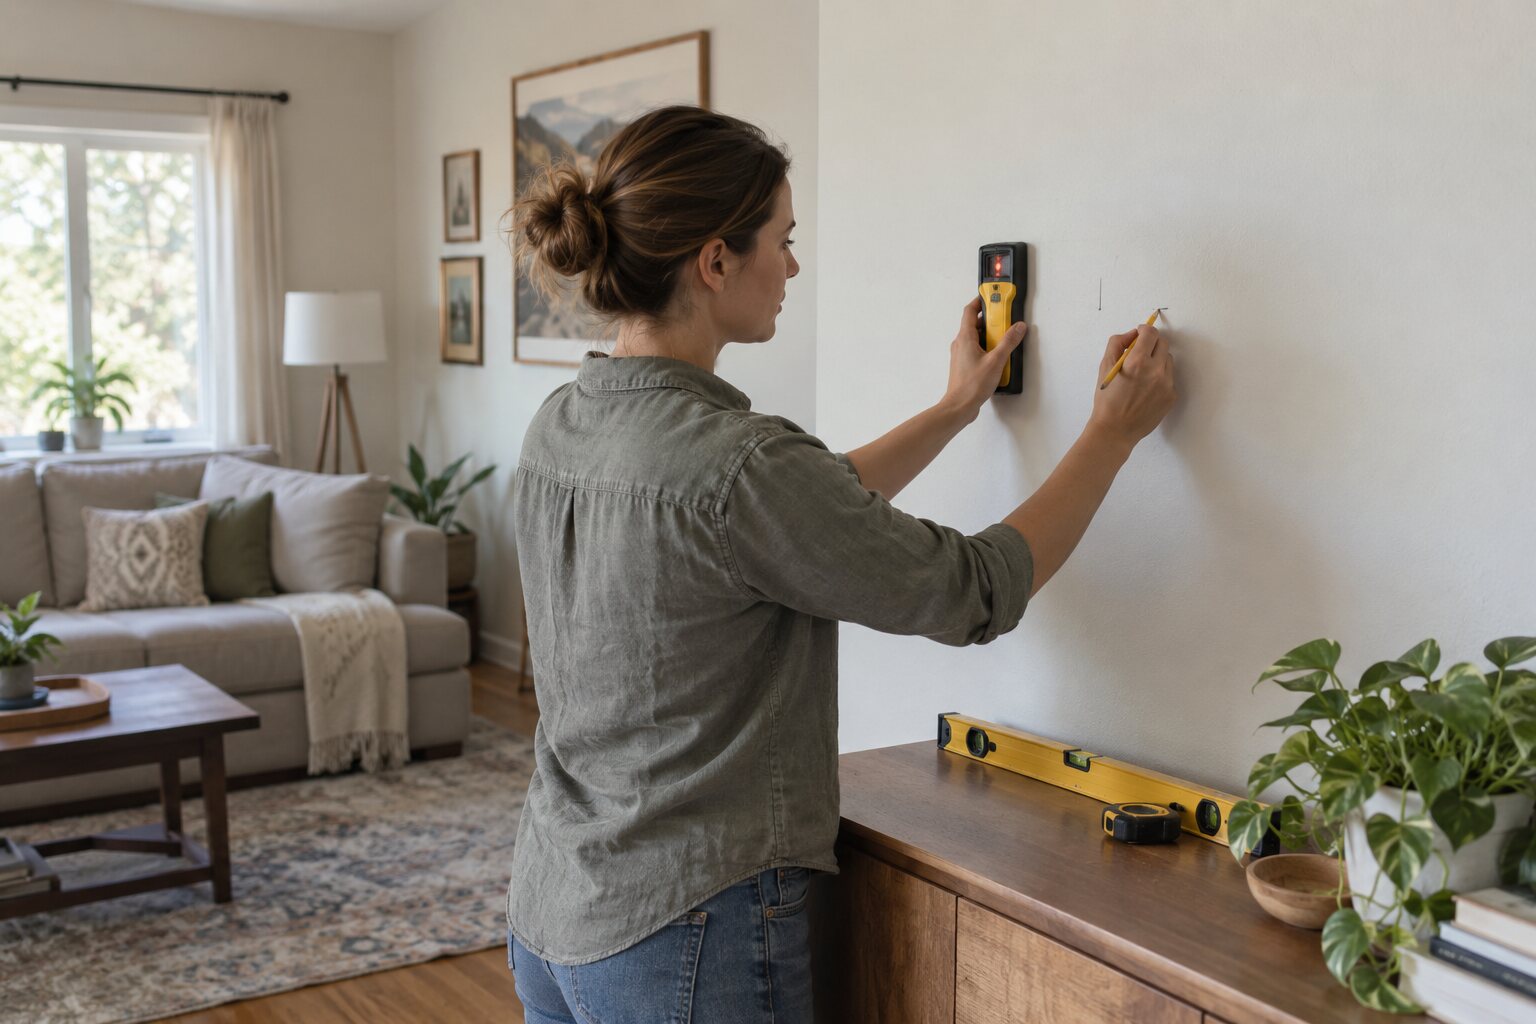
A stud finder is most useful when it confirms a layout you have already measured. Before drilling for a shelf, locate the framing, check for electrical and plumbing hazards, and decide where the bracket loads will land.
Start with the shelf and bracket layout
Measure the shelf length, bracket spacing, and the height you want above nearby furniture. Mark a level reference line with a pencil. A shelf that looks centered can still miss the framing, so plan to adjust bracket positions or use rated hollow-wall anchors when a stud is not available.
Calibrate on a clear section of wall
Clean dust from the surface and calibrate the electronic finder according to its instructions. Move it slowly and consistently in both directions. Mark both edges of a stud, then use the center between those marks as the drilling reference. Confirm the result with a second pass or a small finish nail in a hidden area.
Look for hazards before drilling
A stud finder does not replace caution around outlets, switches, plumbing fixtures, or radiators. Avoid drilling directly above or below those points unless you know how the utilities are routed. Use a depth stop and choose screws that will enter the stud without extending unnecessarily far into the wall cavity.
Fasten and load gradually
Hold the bracket on the level line, predrill with the correct bit, and drive the structural screw snugly without crushing drywall. If a bracket misses framing, use a suitable anchor rated for the shelf and its contents. Place heavier items near the brackets, then add weight gradually while checking for movement.
Do not use a shelf as a handhold or load it beyond the bracket and anchor ratings. Recheck the fasteners after a week, especially in older homes where plaster, lath, or uneven framing can make the first installation less predictable.