Author: ddbuilderb39a54

  • Test a GFCI Outlet Safely

    Test a GFCI Outlet Safely

    Ground-fault circuit interrupters protect wet-area outlets by shutting off power when they sense an imbalance. A short monthly test confirms the protection still works.

    Step-by-step

    Plug in a small lamp, press the TEST button, and confirm the lamp turns off. Press RESET and confirm power returns. Test every device in kitchens, bathrooms, garages, and outdoor areas. If RESET will not hold, unplug downstream devices and try once more; persistent failure needs an electrician.

    Keep it safe

    Do not open the receptacle or work on energized wiring. A GFCI that trips repeatedly may be warning about moisture, a damaged cord, or a circuit fault—not an inconvenience to bypass.

    Quick check: Add this task to a seasonal home log, take a before-and-after photo, and stop if the condition is outside a simple maintenance fix.

    Why this small job matters

    Test a GFCI Outlet Safely is the kind of task that is easy to postpone because the first symptom rarely feels urgent. In a lived-in Troubleshooting routine, small changes add up: a little dust, a little moisture, or a little wear can make equipment work harder and can turn a ten-minute check into a weekend repair. The useful approach is to notice the change, write down what you see, and make one controlled adjustment at a time. That habit gives you a baseline for the next season and makes it easier to explain the situation if a specialist is needed.

    What to look for as you work

    Take a slow look before touching anything. Check for loose fasteners, unusual sounds, water marks, heat, damaged seals, or material that has changed color. Work in good light and keep the original parts, labels, and measurements nearby. If the result is not clearly better after the first safe step, stop and reassess rather than adding more force or more product. A short note about weather, age, and recent changes often reveals a pattern that is invisible in a single visit.

    A practical follow-up routine

    Finish by cleaning the work area and testing the result under normal conditions. Put the next inspection on a calendar, especially when the task depends on a season or a filter, seal, or moving part. Keep a simple home log with the date, what you changed, and a photo of the finished condition. That record turns maintenance into a calm routine instead of a reaction. When you find exposed wiring, structural damage, gas smells, persistent leaks, or anything that could injure someone, leave it alone and contact a qualified professional.
  • Stop Door Drafts with Simple Weatherstripping

    Stop Door Drafts with Simple Weatherstripping

    A drafty exterior door can make a comfortable room feel cold and raise energy use. The fix starts with locating the leak rather than covering every gap at once.

    Step-by-step

    Close the door on a sheet of paper; resistance around the frame should feel consistent. Replace compressed foam or rubber along the jamb, then inspect the sweep at the bottom. Clean and dry the surface, cut strips to length, and press them firmly without stretching. Adjust hinges or the strike plate only if the door no longer latches squarely.

    Keep it safe

    Keep weep holes clear and make sure the weatherstrip does not prevent a secure latch. If moisture, daylight, or movement remains around the frame, have the threshold and surrounding trim inspected.

    Quick check: Add this task to a seasonal home log, take a before-and-after photo, and stop if the condition is outside a simple maintenance fix.

    Why this small job matters

    Stop Door Drafts with Simple Weatherstripping is the kind of task that is easy to postpone because the first symptom rarely feels urgent. In a lived-in Home Maintenance routine, small changes add up: a little dust, a little moisture, or a little wear can make equipment work harder and can turn a ten-minute check into a weekend repair. The useful approach is to notice the change, write down what you see, and make one controlled adjustment at a time. That habit gives you a baseline for the next season and makes it easier to explain the situation if a specialist is needed.

    What to look for as you work

    Take a slow look before touching anything. Check for loose fasteners, unusual sounds, water marks, heat, damaged seals, or material that has changed color. Work in good light and keep the original parts, labels, and measurements nearby. If the result is not clearly better after the first safe step, stop and reassess rather than adding more force or more product. A short note about weather, age, and recent changes often reveals a pattern that is invisible in a single visit.

    A practical follow-up routine

    Finish by cleaning the work area and testing the result under normal conditions. Put the next inspection on a calendar, especially when the task depends on a season or a filter, seal, or moving part. Keep a simple home log with the date, what you changed, and a photo of the finished condition. That record turns maintenance into a calm routine instead of a reaction. When you find exposed wiring, structural damage, gas smells, persistent leaks, or anything that could injure someone, leave it alone and contact a qualified professional.
  • Clean a Furnace Filter for Better Airflow

    Clean a Furnace Filter for Better Airflow

    A dirty filter makes a heating or cooling system work harder. A careful replacement keeps airflow steady without turning routine maintenance into a guessing game.

    Step-by-step

    Turn off the system at the thermostat, note the arrow on the old filter, and measure it before shopping. Slide the new filter in with its airflow arrow pointing toward the equipment. Check the fit around the frame; a loose filter lets dust bypass it. Restart the system and listen for normal, even airflow at the nearest registers.

    Keep it safe

    Set a calendar reminder for a monthly visual check. Homes with pets, renovation dust, or allergies may need more frequent changes, while a lightly used system may go longer. Never run a forced-air system without a properly sized filter.

    Quick check: Add this task to a seasonal home log, take a before-and-after photo, and stop if the condition is outside a simple maintenance fix.

    Why this small job matters

    Clean a Furnace Filter for Better Airflow is the kind of task that is easy to postpone because the first symptom rarely feels urgent. In a lived-in Home Systems routine, small changes add up: a little dust, a little moisture, or a little wear can make equipment work harder and can turn a ten-minute check into a weekend repair. The useful approach is to notice the change, write down what you see, and make one controlled adjustment at a time. That habit gives you a baseline for the next season and makes it easier to explain the situation if a specialist is needed.

    What to look for as you work

    Take a slow look before touching anything. Check for loose fasteners, unusual sounds, water marks, heat, damaged seals, or material that has changed color. Work in good light and keep the original parts, labels, and measurements nearby. If the result is not clearly better after the first safe step, stop and reassess rather than adding more force or more product. A short note about weather, age, and recent changes often reveals a pattern that is invisible in a single visit.

    A practical follow-up routine

    Finish by cleaning the work area and testing the result under normal conditions. Put the next inspection on a calendar, especially when the task depends on a season or a filter, seal, or moving part. Keep a simple home log with the date, what you changed, and a photo of the finished condition. That record turns maintenance into a calm routine instead of a reaction. When you find exposed wiring, structural damage, gas smells, persistent leaks, or anything that could injure someone, leave it alone and contact a qualified professional.
  • How to Clean a Bathroom Exhaust Fan and Check Its Airflow

    How to Clean a Bathroom Exhaust Fan and Check Its Airflow

    A bathroom fan can sound busy while moving very little air. Dust on the grille and blower reduces performance, but weak airflow can also come from a stuck exterior damper, crushed duct, long duct route, or a fan that was undersized from the beginning. Cleaning is the right first step because it is visible, repeatable, and often overdue.

    Turn off power before removing the cover

    Switch the fan off at the wall and turn off its circuit breaker when the grille or internal user-accessible parts will be removed. Confirm the fan and any integrated light do not operate. If you cannot identify the circuit or the unit shows heat damage, loose wiring, or buzzing, stop and call an electrician.

    Use a stable step stool on a dry floor. Do not stand on a tub edge, toilet, or sink. Let the motor cool before touching nearby parts.

    Clean the grille and accessible blower

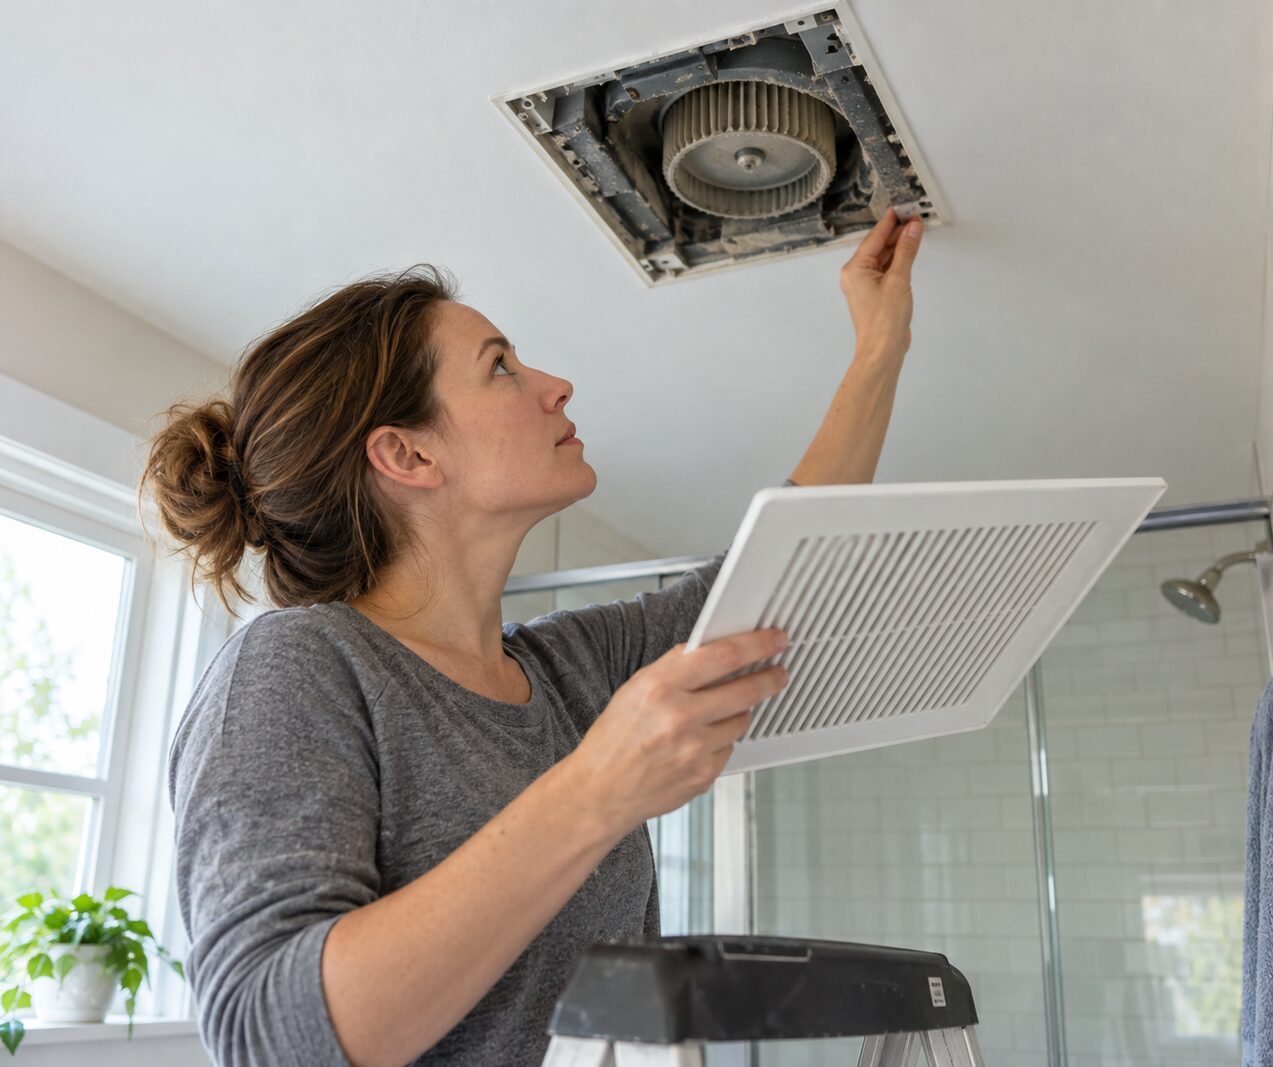
    Most spring-mounted grilles pull down slightly so the wire springs can be compressed and released. Other models use screws or tabs; check the instructions rather than forcing plastic.

    Vacuum loose dust with a brush attachment. Wash a removable plain plastic grille in warm soapy water if the manufacturer allows it, then dry it completely. Use a soft brush and vacuum on the accessible blower wheel and housing. Do not bend the wheel, soak the motor, spray cleaner into electrical parts, or disturb wiring.

    Reassemble and make a simple airflow check

    Restore power and hold a single square of toilet tissue near the grille without pushing it inside. A functioning fan should draw the light tissue toward the grille. This is only a comparison test, not a measurement of required airflow. Use it before and after cleaning to see whether performance improved.

    Listen for scraping, speed changes, or a motor that starts slowly. New noise after cleaning can mean the grille is not seated or the blower was disturbed.

    Check the outdoor termination

    With the fan running, observe the exterior outlet from a safe location. Its damper should open and air should discharge. Do not climb a wet roof or use an unsafe ladder. A stuck flap, insect nest, lint, or damaged hood can block flow. The outlet should not terminate in an attic, soffit cavity, or other enclosed space.

    When cleaning does not solve it

    Poor performance after cleaning may require inspection of the duct diameter, length, elbows, disconnections, insulation, and exterior hood. Condensation dripping from the fan in cold weather can indicate an uninsulated or poorly routed duct as well as high indoor humidity.

    Run the fan during bathing and long enough afterward to remove lingering moisture. A timer or humidity control can make that routine consistent, but it cannot compensate for a blocked duct or a fan that does not discharge outdoors.

    Related guides

    Why this small job matters

    How to Clean a Bathroom Exhaust Fan and Check Its Airflow is the kind of task that is easy to postpone because the first symptom rarely feels urgent. In a lived-in Home Maintenance routine, small changes add up: a little dust, a little moisture, or a little wear can make equipment work harder and can turn a ten-minute check into a weekend repair. The useful approach is to notice the change, write down what you see, and make one controlled adjustment at a time. That habit gives you a baseline for the next season and makes it easier to explain the situation if a specialist is needed.

    What to look for as you work

    Take a slow look before touching anything. Check for loose fasteners, unusual sounds, water marks, heat, damaged seals, or material that has changed color. Work in good light and keep the original parts, labels, and measurements nearby. If the result is not clearly better after the first safe step, stop and reassess rather than adding more force or more product. A short note about weather, age, and recent changes often reveals a pattern that is invisible in a single visit.

    A practical follow-up routine

    Finish by cleaning the work area and testing the result under normal conditions. Put the next inspection on a calendar, especially when the task depends on a season or a filter, seal, or moving part. Keep a simple home log with the date, what you changed, and a photo of the finished condition. That record turns maintenance into a calm routine instead of a reaction. When you find exposed wiring, structural damage, gas smells, persistent leaks, or anything that could injure someone, leave it alone and contact a qualified professional.
  • Why a Washing Machine Shakes During the Spin Cycle

    Why a Washing Machine Shakes During the Spin Cycle

    A washer that moves during spin is not always broken. One heavy item can collect on one side of the drum and create a large imbalance. Repeated walking, banging, or vibration with ordinary loads, however, points to setup, support, or mechanical problems that should not be ignored.

    Pause the cycle and redistribute the load

    If the machine begins striking the cabinet or moving across the floor, pause it. Wait for the drum to stop and the lock to release. Spread heavy items around the drum and add a few compatible items when a single absorbent piece is causing the imbalance. Do not add weight beyond the model’s capacity.

    A small load can be harder to balance than a mixed, properly sized load. Blankets, bath mats, waterproof items, and shoes require the cycle and loading method specified in the manual.

    Confirm the machine is level and stable

    Press diagonally on the top corners with the washer off. It should not rock. Check level from side to side and front to back, then adjust the feet according to the manual and tighten their locking nuts. All feet must carry weight; a foot that merely touches the floor may still allow rocking during acceleration.

    Do not use loose cardboard, folded cloth, or stacks of thin material as permanent shims. Use an approved stable solution and correct an uneven floor when necessary.

    Check installation details

    A recently installed front-loading washer may still have shipping bolts or transport hardware fitted. Running it that way can cause severe vibration and damage. Stop using it and follow the model instructions for removal and storage of the hardware.

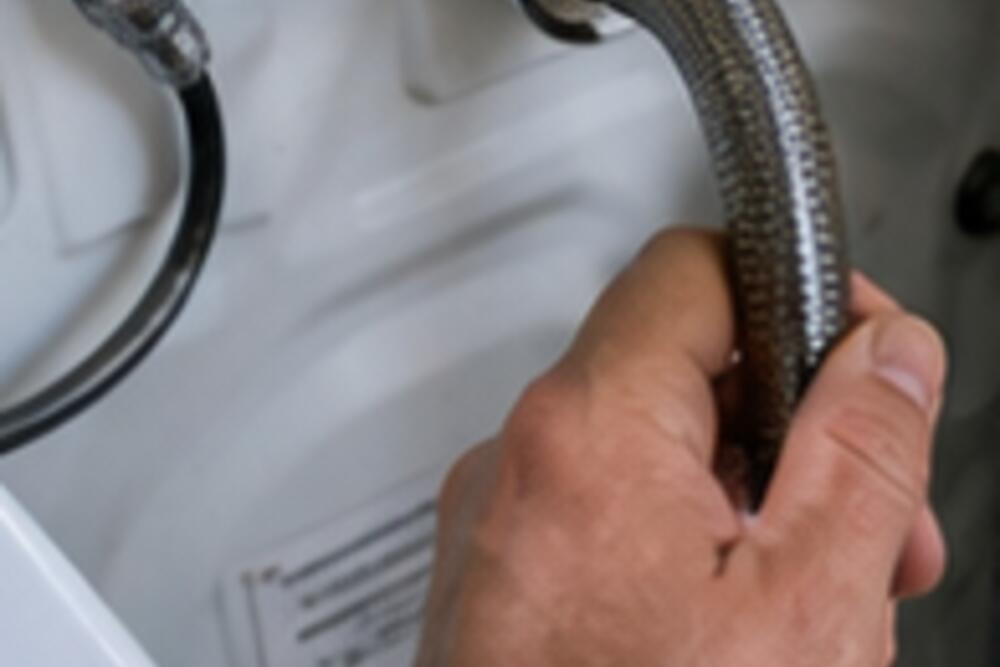
    Make sure hoses and the power cord have enough clearance and are not striking the wall. The drain hose must be secured in its proper position without being sealed airtight into the standpipe.

    Consider the floor

    A washer may be level yet still excite a flexible wood floor. Observe whether nearby objects or the floor itself bounce in rhythm with the spin. Moving the machine to a structurally better-supported location or improving the floor may be more effective than adding soft anti-vibration pads, which can sometimes increase movement.

    Recognize mechanical symptoms

    Grinding, roaring that changes with drum speed, a drum that sags, visible leakage, repeated error codes, or excessive movement with every normal load needs service. Worn suspension components, dampers, springs, bearings, counterweights, or a damaged drum support are model-specific repairs.

    With the washer empty and off, rotate the drum by hand only as the manual permits. Note roughness, scraping, or looseness without dismantling the machine. Disconnect power before inspecting any area the user guide identifies as serviceable.

    Related guides

    Why this small job matters

    Why a Washing Machine Shakes During the Spin Cycle is the kind of task that is easy to postpone because the first symptom rarely feels urgent. In a lived-in Appliances routine, small changes add up: a little dust, a little moisture, or a little wear can make equipment work harder and can turn a ten-minute check into a weekend repair. The useful approach is to notice the change, write down what you see, and make one controlled adjustment at a time. That habit gives you a baseline for the next season and makes it easier to explain the situation if a specialist is needed.

    What to look for as you work

    Take a slow look before touching anything. Check for loose fasteners, unusual sounds, water marks, heat, damaged seals, or material that has changed color. Work in good light and keep the original parts, labels, and measurements nearby. If the result is not clearly better after the first safe step, stop and reassess rather than adding more force or more product. A short note about weather, age, and recent changes often reveals a pattern that is invisible in a single visit.

    A practical follow-up routine

    Finish by cleaning the work area and testing the result under normal conditions. Put the next inspection on a calendar, especially when the task depends on a season or a filter, seal, or moving part. Keep a simple home log with the date, what you changed, and a photo of the finished condition. That record turns maintenance into a calm routine instead of a reaction. When you find exposed wiring, structural damage, gas smells, persistent leaks, or anything that could injure someone, leave it alone and contact a qualified professional.

  • A Circuit Breaker Tripped: Safe First Checks Before You Reset It

    A Circuit Breaker Tripped: Safe First Checks Before You Reset It

    A circuit breaker trips to interrupt a condition that could overheat wiring or equipment. Resetting it without asking why it opened removes useful evidence and can repeat the fault. Before touching the panel, reduce the load, look for warning signs, and decide whether a reset is appropriate at all.

    Stop immediately for danger signs

    Do not open or operate a panel that is wet, visibly damaged, buzzing loudly, smoking, or giving off a burning odor. Keep away from exposed conductors, missing covers, scorch marks, or a hot panel surface. Call emergency services for fire or active smoke and a licensed electrician for electrical warning signs.

    If a person received a shock, prioritize medical evaluation and make the area safe. Do not touch someone who may still be in contact with energized equipment.

    Identify what stopped working

    Note which lights, receptacles, and appliances lost power. Unplug portable devices on that circuit and switch off fixed loads you can identify. A space heater, kettle, hair dryer, toaster, microwave, or air conditioner may use much of a general-purpose circuit’s available capacity. Several high-load devices operating together can cause an overload even when each works normally by itself.

    Look at cords, plugs, and devices for melting, discoloration, damage, moisture, or unusual smell. Do not reconnect a suspect item for testing.

    Recognize the tripped position

    A tripped handle often sits between ON and OFF, but panel designs vary. Read the panel label and the breaker’s instructions. Stand on a dry surface with dry hands, keep the cover closed, and use one hand when practical. Never remove the panel cover as part of a homeowner reset.

    Make one controlled reset

    If there are no danger signs and the loads are disconnected, move the handle fully to OFF and then firmly to ON. A handle that will not stay on, trips immediately with everything unplugged, feels loose, or produces sound or odor needs an electrician. Do not hold it in position or repeat the reset.

    If it stays on, reconnect devices one at a time. Stop when a particular device causes another trip. Leave that device disconnected and have it assessed. If the breaker trips only when several normal high-load devices run together, move loads to appropriate circuits and ask an electrician whether the circuit and panel labeling are suitable for how the space is used.

    What a breaker reset does not prove

    A successful reset does not prove the circuit is healthy. Intermittent cord damage, loose connections, moisture, failing motors, and arc faults can appear only under certain conditions. Repeated unexplained trips, warmth, flicker, or noise deserve professional diagnosis.

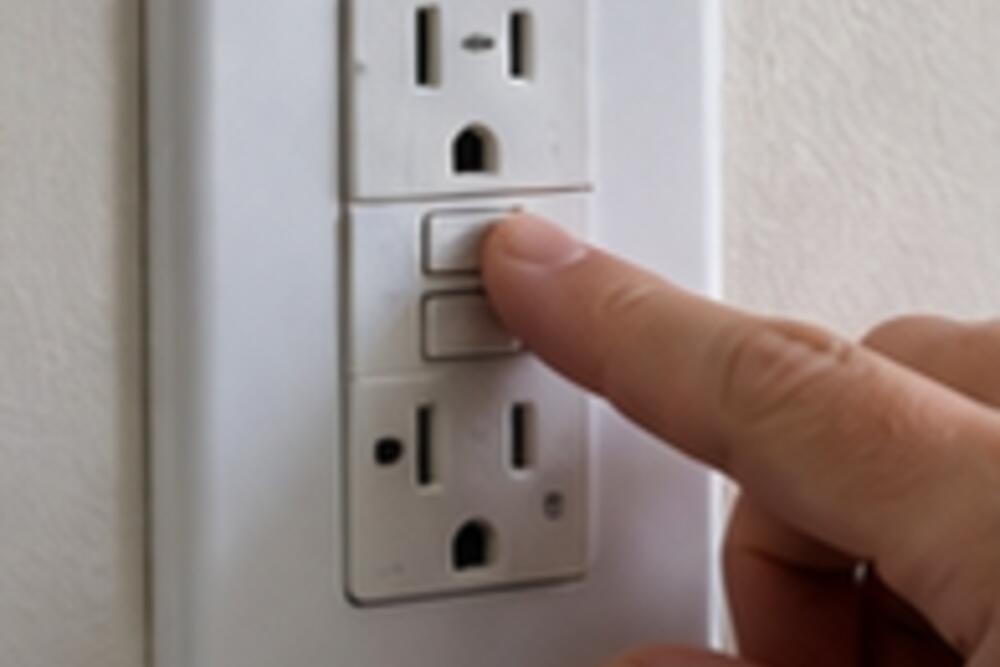
    Some breakers include TEST buttons and diagnostic indicators. Follow the exact manufacturer’s instructions; do not assume all indicator colors or blink patterns mean the same thing.

    Related guides

    Why this small job matters

    A Circuit Breaker Tripped: Safe First Checks Before You Reset It is the kind of task that is easy to postpone because the first symptom rarely feels urgent. In a lived-in Troubleshooting routine, small changes add up: a little dust, a little moisture, or a little wear can make equipment work harder and can turn a ten-minute check into a weekend repair. The useful approach is to notice the change, write down what you see, and make one controlled adjustment at a time. That habit gives you a baseline for the next season and makes it easier to explain the situation if a specialist is needed.

    What to look for as you work

    Take a slow look before touching anything. Check for loose fasteners, unusual sounds, water marks, heat, damaged seals, or material that has changed color. Work in good light and keep the original parts, labels, and measurements nearby. If the result is not clearly better after the first safe step, stop and reassess rather than adding more force or more product. A short note about weather, age, and recent changes often reveals a pattern that is invisible in a single visit.

    A practical follow-up routine

    Finish by cleaning the work area and testing the result under normal conditions. Put the next inspection on a calendar, especially when the task depends on a season or a filter, seal, or moving part. Keep a simple home log with the date, what you changed, and a photo of the finished condition. That record turns maintenance into a calm routine instead of a reaction. When you find exposed wiring, structural damage, gas smells, persistent leaks, or anything that could injure someone, leave it alone and contact a qualified professional.

  • How to Reduce Window Condensation Without Hiding the Real Cause

    How to Reduce Window Condensation Without Hiding the Real Cause

    Water on the room side of a window is usually indoor moisture condensing on a cold surface. That simple explanation is useful, but it is not the whole diagnosis. The location of the water, the outdoor temperature, the room, and the time it appears can tell you whether the best response is better ventilation, lower indoor humidity, warmer glass, or an inspection for an actual leak.

    First identify which surface is wet

    Wipe the window dry and observe where moisture returns. Condensation on the room-facing glass or frame comes from indoor air. Moisture trapped between panes indicates a failed insulated-glass seal; wiping either surface will not remove it. Water staining above the window, damp drywall at one corner, or moisture that appears only during rain can point to exterior water entry rather than condensation.

    Do not assume every dark mark is mold. Dust sticks to frequently damp edges and can look similar. Clean a small area using a method suitable for the frame material, then watch whether the damp condition and discoloration return.

    Measure humidity instead of guessing

    A small digital hygrometer gives more useful information than the amount of water on one window. Indoor relative humidity that feels comfortable during mild weather may still be too high when the glass becomes very cold. The safe target therefore changes with outdoor temperature, window performance, and the temperature of the room.

    Compare readings in the affected room and a central part of the home. A bathroom or bedroom with a closed door may be much more humid than the hallway. If the whole home is elevated, investigate moisture sources and whole-house ventilation. If only one room is elevated, start with that room’s airflow and activities.

    Control moisture at its source

    • Run a bathroom exhaust fan during bathing and long enough afterward to clear the room. The fan must discharge outdoors, not into an attic.
    • Use a vented range hood while producing steam. Recirculating hoods remove some grease but usually return moisture to the room.
    • Vent clothes dryers outdoors and inspect the duct for leaks or blockage.
    • Avoid drying large amounts of laundry indoors when condensation is already a problem.
    • Check humidifier output against outdoor conditions instead of leaving one setting all winter.

    Help warm air reach the glass

    Heavy curtains, deep blinds, and furniture can isolate a window from room airflow. Open coverings periodically and keep supply registers unobstructed. This will not fix failed glass or severe humidity, but it can reduce a cold, stagnant pocket at the window.

    Temporary interior window film can improve the surface temperature of a leaky window when installed correctly. It is not a repair for decayed frames, missing exterior flashing, or failed insulated glass. Storm windows or properly selected replacement windows may be longer-term options after moisture sources are controlled.

    Know when to investigate further

    Arrange an inspection if the wall is soft, paint is bubbling, wood is decaying, moisture appears during rain, or condensation persists despite verified ventilation and reasonable humidity. Also investigate combustion safety before aggressively changing ventilation in a home with naturally drafted fuel-burning equipment.

    The right solution follows the evidence: lower excess moisture, improve verified ventilation, allow heat and airflow to reach the glass, and repair the window or exterior assembly only when its condition actually calls for it.

    Related guides

    Why this small job matters

    How to Reduce Window Condensation Without Hiding the Real Cause is the kind of task that is easy to postpone because the first symptom rarely feels urgent. In a lived-in Room-by-Room routine, small changes add up: a little dust, a little moisture, or a little wear can make equipment work harder and can turn a ten-minute check into a weekend repair. The useful approach is to notice the change, write down what you see, and make one controlled adjustment at a time. That habit gives you a baseline for the next season and makes it easier to explain the situation if a specialist is needed.

    What to look for as you work

    Take a slow look before touching anything. Check for loose fasteners, unusual sounds, water marks, heat, damaged seals, or material that has changed color. Work in good light and keep the original parts, labels, and measurements nearby. If the result is not clearly better after the first safe step, stop and reassess rather than adding more force or more product. A short note about weather, age, and recent changes often reveals a pattern that is invisible in a single visit.

    A practical follow-up routine

    Finish by cleaning the work area and testing the result under normal conditions. Put the next inspection on a calendar, especially when the task depends on a season or a filter, seal, or moving part. Keep a simple home log with the date, what you changed, and a photo of the finished condition. That record turns maintenance into a calm routine instead of a reaction. When you find exposed wiring, structural damage, gas smells, persistent leaks, or anything that could injure someone, leave it alone and contact a qualified professional.