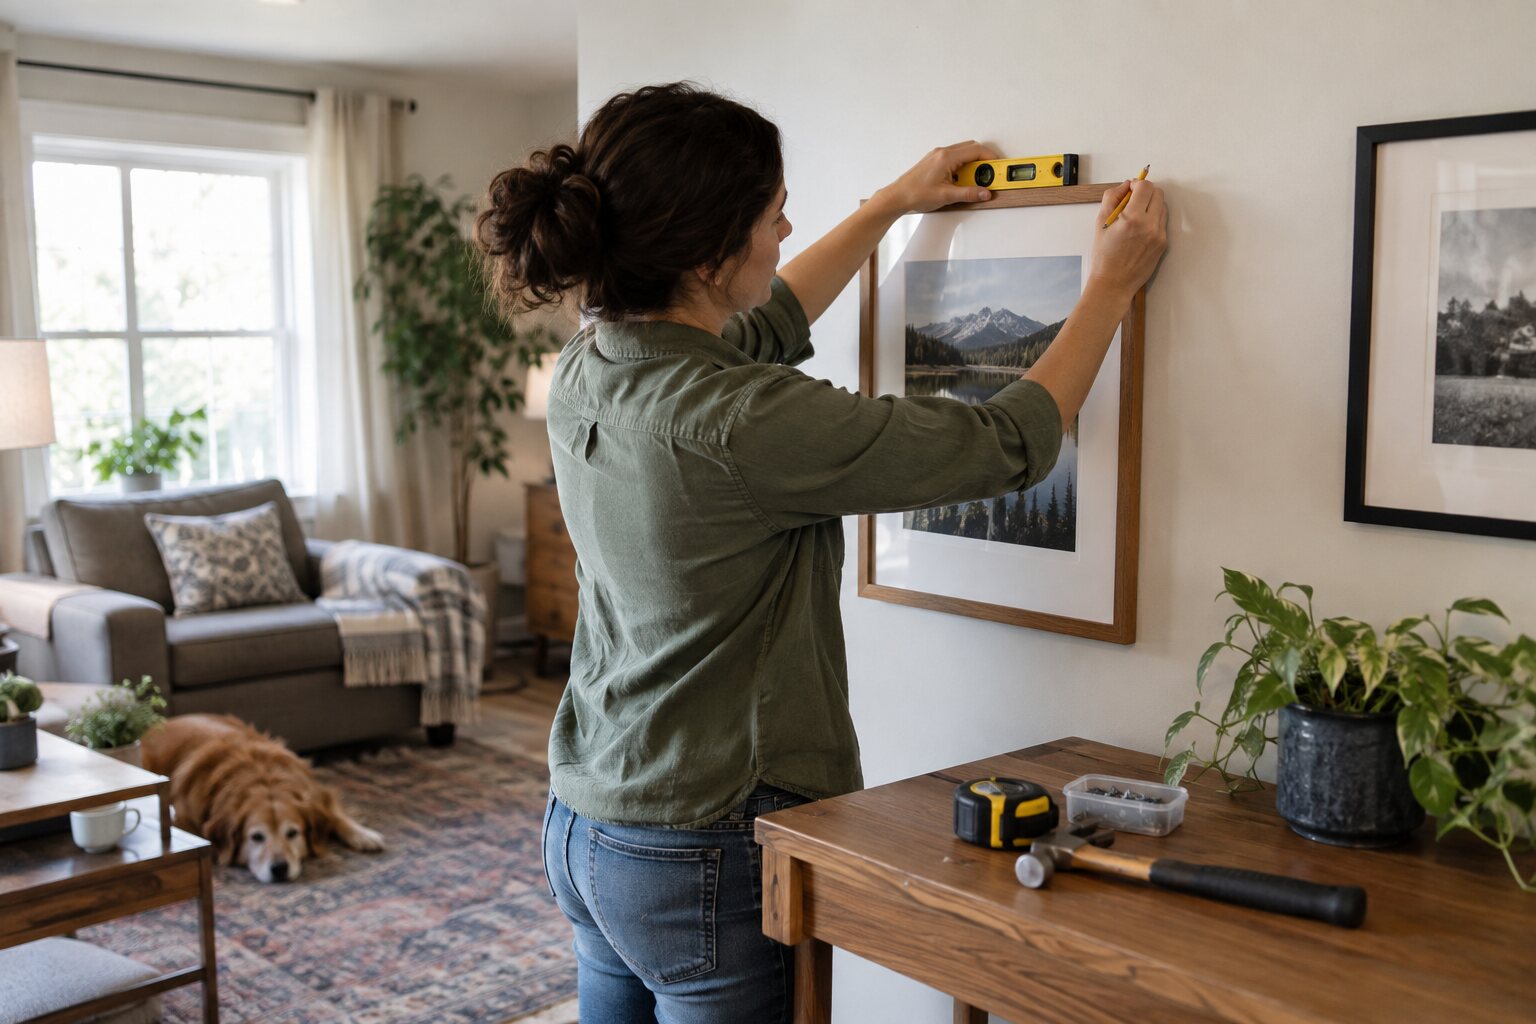
A frame can look level from one side and still be visibly crooked across a room. Marking the centerline, measuring the hardware, and checking the wall before drilling prevents unnecessary holes and keeps the final placement stable.
Plan the visual position
Decide how the frame relates to furniture, nearby frames, and the room’s center. Measure the frame width and the distance from its top edge to the hanging wire or bracket. Use painter’s tape to mark the intended top and center so pencil marks do not spread.
Use the level correctly
Place the level on the frame’s top edge or on a temporary straightedge. Check both the horizontal bubble and the frame’s relationship to nearby trim. If the wall or frame is irregular, choose the visually correct reference rather than forcing a crooked edge to look mathematically perfect.
Locate a suitable fastening point
Use a stud finder or existing framing information before drilling. For hollow drywall, choose an anchor rated for the frame’s weight and use the manufacturer’s hole size. Avoid drilling near outlets, switches, plumbing fixtures, or unknown wiring paths.
Hang and recheck
Install the fastener at the measured height, hang the frame, and check it from several steps away. Add a small pad or bumper at the lower corners if the frame shifts or marks the wall. Do not use a weak nail for a heavy glass frame.
If the frame hangs from two points, measure the spacing carefully and level the fasteners together. A few extra minutes of layout is easier than repairing a row of abandoned holes.