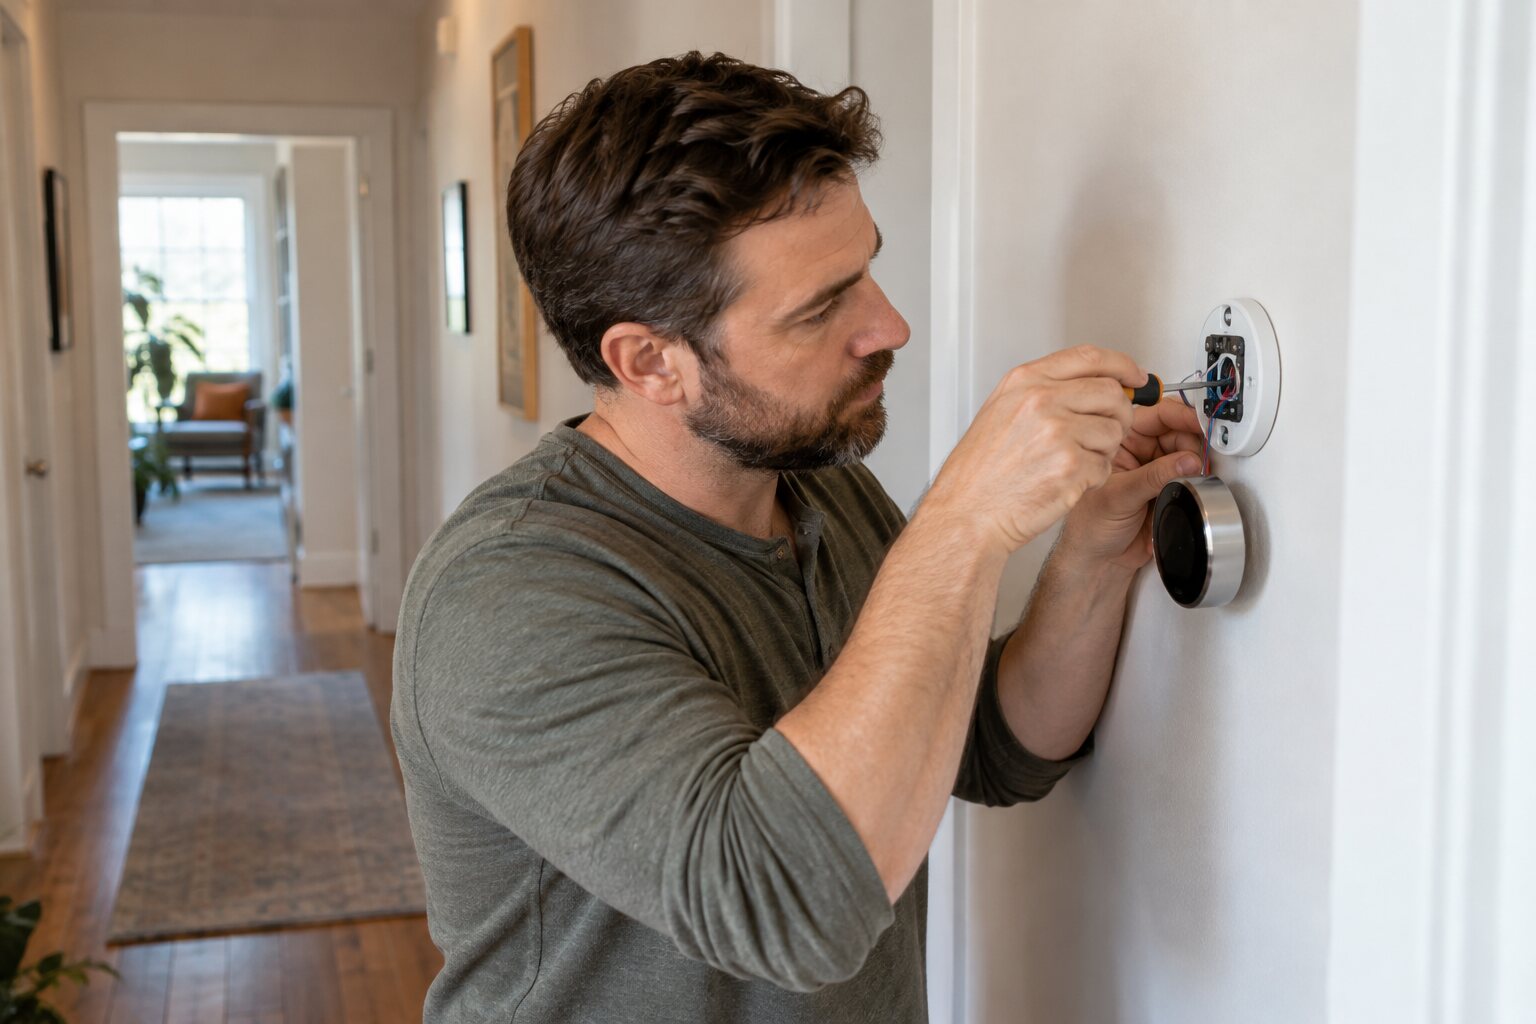
Replacing a thermostat is a small wiring project with a surprisingly important first step: record what is already there. A smart thermostat can improve scheduling and comfort, but only when the existing system, wiring, and power supply are identified before anything is disconnected.
Photograph and label the existing wiring
Turn off power at the furnace or air-handler switch and at the service panel if the equipment is hard-wired. Remove the thermostat cover, photograph the terminals, and write down each wire letter rather than relying on wire color. The terminal labels matter more than the insulation colors. Keep the mounting plate in place until the record is complete.
Check compatibility before mounting
Many smart thermostats need a common wire, often marked C, for continuous power. Others include an adapter for systems without one. Check the manufacturer compatibility guide for heat pumps, multi-stage equipment, electric baseboard heat, and millivolt systems. If the wiring does not match the guide, stop and have an HVAC technician identify it.
Move one conductor at a time
Use the supplied labels or small pieces of tape to mark each conductor, then transfer them to the matching terminals on the new base. Do not push bare copper into a terminal or allow wires to fall into the wall. Fasten the base level, restore power, and follow the setup prompts for equipment type, fan control, and heating or cooling stages.
Test before relying on automation
Raise the heat briefly, then test cooling only if the season and equipment permit. Confirm that the fan starts, the equipment shuts off, and the displayed temperature changes normally. Set a conservative schedule for the first day and keep the original thermostat and wiring photograph in a labeled envelope for future service.
If a breaker trips, a fuse blows, the thermostat reboots repeatedly, or the system runs continuously, switch power off and call a qualified technician. Smart features are useful only after the basic heating and cooling controls operate correctly.