
Dishwasher odor usually comes from trapped food, standing water, a dirty filter, or a drain connection that lets odors return. Fragrance may cover it for one cycle, but only removing the material fixes the source.
Start with the filter
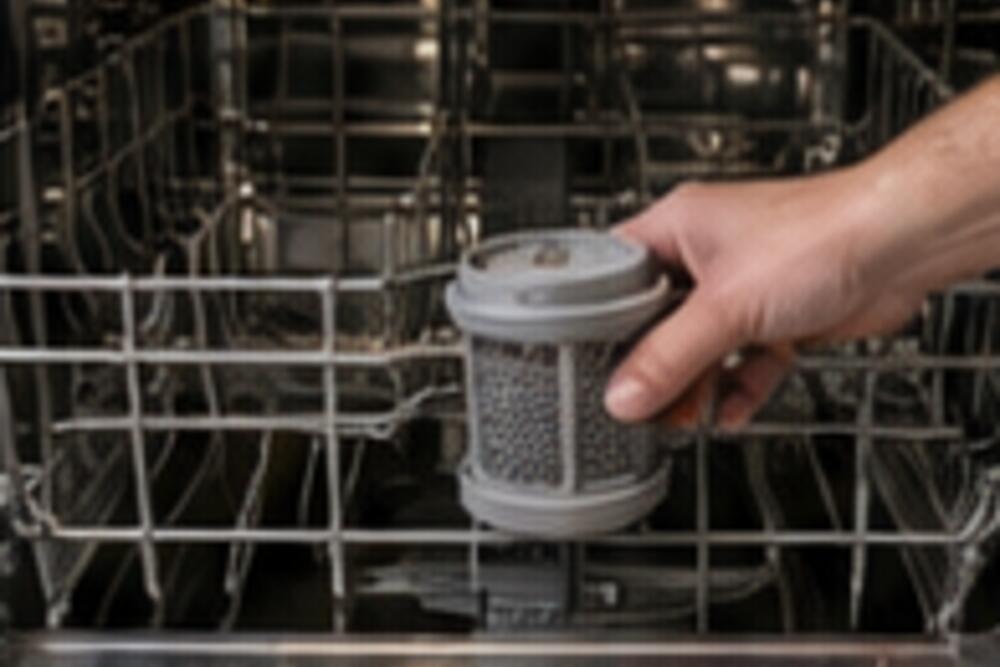
Turn the machine off and consult its manual. Remove the lower rack and filter, rinse with warm water, and use a soft brush with dish soap on greasy mesh. Do not use sharp tools. Clear visible debris from the accessible sump without reaching into hidden blades or pumps, then lock the filter fully in place.
Clean damp surfaces
Wipe the lower door lip, gasket folds, detergent area, and rack tracks. Check spray-arm holes and make sure the arms turn freely. Use the manufacturer’s clearing method so the holes are not enlarged.
Read the drainage clues
A little clean water below the filter can be normal, but water across the tub floor after a completed cycle is not. Check the sink drain, run the disposal if present, and inspect the hose for a required high loop or air gap. A newly installed disposal must have its dishwasher inlet knockout removed.
If water remains, the unit hums without draining, or the hose is kinked, stop repeating cycles. Disconnect power before work beyond the user-accessible filter area.
Run the right cleaning cycle
After debris is removed, use a manufacturer-approved dishwasher cleaner on an empty hot cycle. Never combine bleach, vinegar, ammonia, or commercial cleaners. Some acids harm rubber, while chlorine is unsuitable for certain stainless interiors.
Scrape heavy debris, clean the filter on schedule, dose detergent for water hardness, and leave the door slightly ajar after unloading when the manual permits. A clean dishwasher should smell neutral, not perfumed.
Why this small job matters
Why Your Dishwasher Smells Bad—and the Cleaning Order That Works is the kind of task that is easy to postpone because the first symptom rarely feels urgent. In a lived-in Appliances routine, small changes add up: a little dust, a little moisture, or a little wear can make equipment work harder and can turn a ten-minute check into a weekend repair. The useful approach is to notice the change, write down what you see, and make one controlled adjustment at a time. That habit gives you a baseline for the next season and makes it easier to explain the situation if a specialist is needed.
What to look for as you work
Take a slow look before touching anything. Check for loose fasteners, unusual sounds, water marks, heat, damaged seals, or material that has changed color. Work in good light and keep the original parts, labels, and measurements nearby. If the result is not clearly better after the first safe step, stop and reassess rather than adding more force or more product. A short note about weather, age, and recent changes often reveals a pattern that is invisible in a single visit.
A practical follow-up routine
Finish by cleaning the work area and testing the result under normal conditions. Put the next inspection on a calendar, especially when the task depends on a season or a filter, seal, or moving part. Keep a simple home log with the date, what you changed, and a photo of the finished condition. That record turns maintenance into a calm routine instead of a reaction. When you find exposed wiring, structural damage, gas smells, persistent leaks, or anything that could injure someone, leave it alone and contact a qualified professional.